crispy
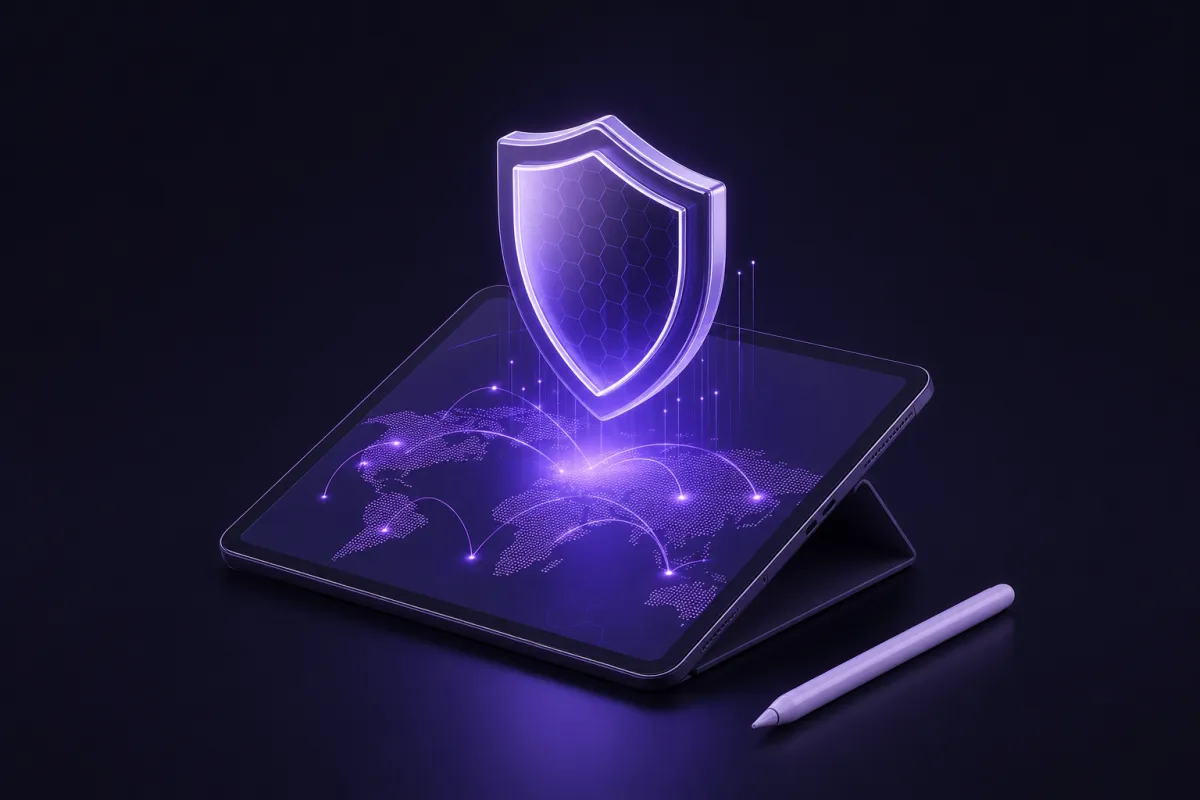
A VPN for iPad encrypts the connection between your tablet and a VPN server, which helps protect your browsing on public Wi-Fi and changes the IP address websites see. It is useful at hotels, airports, cafes, schools and anywhere you do not fully trust the network.
With Crispy VPN, the iPad app is the same iPhone/iPad app from the App Store, so setup is familiar if you have used a VPN on an iPhone. This guide explains what to turn on, what iPadOS settings mean, and which privacy features are worth using on a tablet.
What is a VPN for iPad?
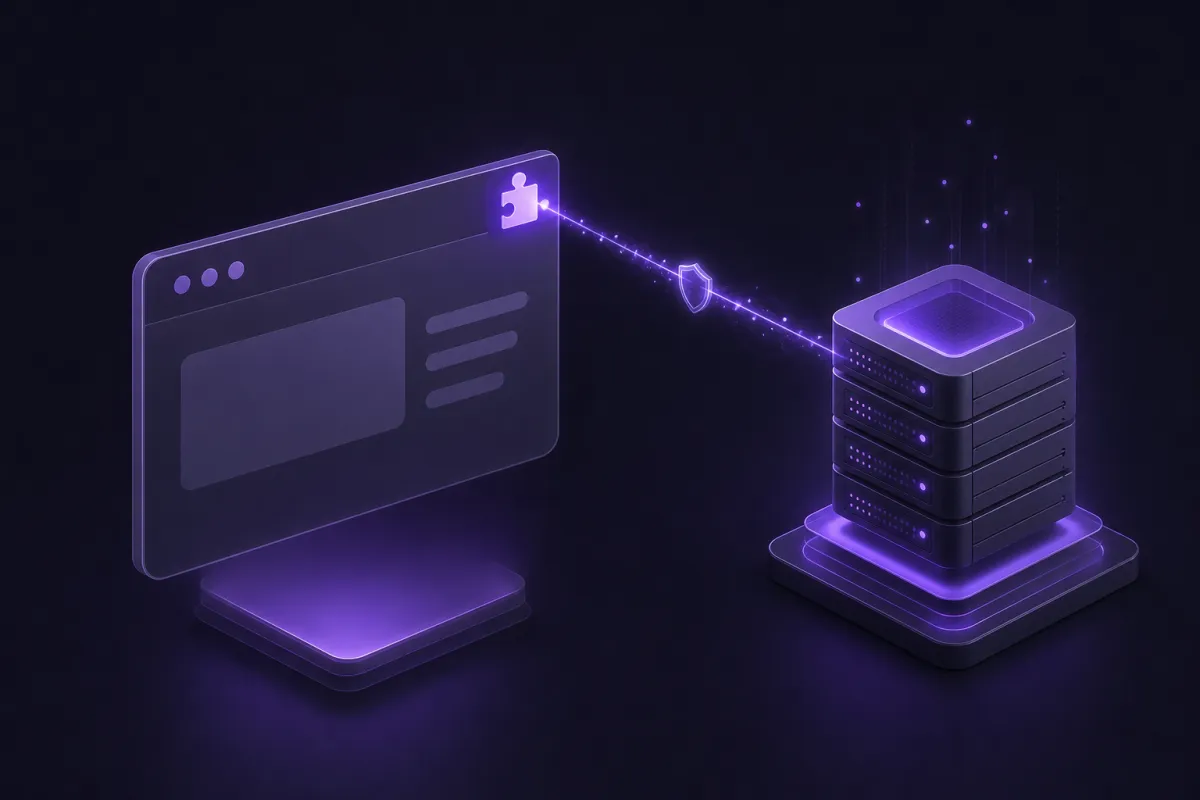
A VPN for iPad is an app and service that creates an encrypted tunnel from your iPad to a VPN server. Instead of your internet provider, hotel network or school Wi-Fi seeing every site you connect to, they see an encrypted connection to the VPN. Websites and apps then see the VPN server IP address rather than your home or local network IP address.
That makes a VPN especially practical on a tablet. iPads are often used on shared networks, for email, banking, work documents, video calls and browsing. A VPN reduces what the local network can observe and makes it harder for network operators to profile your traffic.
If you want the broader concept first, see our guide to what a VPN is. The short version is simple: a VPN improves connection privacy, but it does not make you anonymous, and it does not replace safe passwords, two-factor authentication or common sense.
On iPad, a VPN works at the system level once connected. Safari, Mail, many apps and most background connections use the VPN tunnel automatically. You still sign in to websites and apps normally, and any service you log into can still know it is you.
Why use an iPad VPN on hotel, airport and school Wi-Fi
The best time to use an iPad VPN is when the network is not yours. Hotel Wi-Fi, airport Wi-Fi, cafe networks, conference networks and school Wi-Fi are convenient, but you usually cannot inspect how they are run or who else is connected.
A VPN helps in three practical ways. First, it encrypts your traffic between your iPad and the VPN server, which reduces exposure on shared Wi-Fi. Second, it hides your browsing destinations from the local network operator. Third, it gives your iPad a VPN server IP address, which can be useful when you do not want every site to see the IP of the place where you are connected.
Public Wi-Fi is not automatically dangerous, and modern HTTPS already protects the contents of most websites. Still, a VPN adds a separate layer that covers more of your traffic patterns. For a deeper public network checklist, read our guide to VPNs for public Wi-Fi.
School and managed networks
On school Wi-Fi, use a VPN responsibly and follow the rules that apply to the network. A VPN can help protect personal browsing from unnecessary exposure, but it is not a license to break policies or access services you are not allowed to use.
If your iPad is managed by a school or employer, some VPN settings may be restricted. In that case, iPadOS may show that configuration profiles or device management settings control network behavior.
How to set up VPN on iPad
Setting up an iPad VPN is usually a short process. With Crispy VPN, you install the iPhone/iPad app from the App Store, sign in, allow iPadOS to add a VPN configuration, then choose a server and connect.
- Download the app. Go to the download page and choose the iPhone/iPad app.
- Sign in. Use the email and password for your VPN account.
- Allow the VPN configuration. iPadOS asks for permission before any VPN app can add a VPN profile. Approve it when prompted.
- Choose a server location. Pick a nearby server for general browsing, or choose another location when you have a specific reason.
- Tap connect. Wait for iPadOS to show the VPN indicator in Control Center or Settings.
- Test the connection. Open a browser and confirm your visible IP address has changed.
The app uses WireGuard on every server. WireGuard is a modern VPN protocol known for a small code base, good speed and battery friendly performance, which matters on a tablet you may carry all day.
You do not need router setup or manual configuration files to use the iPad app. The normal App Store app is the right option for iPadOS, and it keeps the setup inside the iPad interface you already know.
Quick setup checklist
- Install the iPhone/iPad app from the App Store.
- Sign in with your account email and password.
- Approve the iPadOS VPN configuration prompt.
- Turn on optional protection features only if you want them.
- Check that the VPN status appears before using unfamiliar Wi-Fi.
iPadOS VPN settings and how to check your connection
iPadOS treats VPN connections as a system setting. You can usually see VPN status in the Settings app and in Control Center. When the VPN is connected, iPadOS routes supported network traffic through the VPN configuration created by the app.
To view the iPadOS VPN area, open Settings and look for VPN status near the main network settings. Depending on your iPadOS version and installed profiles, you may also see VPN details under General, VPN & Device Management. This area is useful when you want to confirm which VPN profile is active or remove an old configuration you no longer use.
There are two checks worth doing after setup. First, make sure the app says it is connected. Second, check your public IP address in a browser. If the IP address and location match the VPN server rather than your local network, the tunnel is working as expected. Our guide to checking whether your VPN is working explains the process in more detail.
If an app behaves strangely after you connect, disconnect briefly and test again. Some services are sensitive to IP address changes, especially if you sign in from one location and then reconnect through another. That is not always a VPN problem, but it is a useful troubleshooting clue.
For best performance, choose a server close to your real location when you do not need a specific country. Shorter network paths usually mean lower latency and steadier video calls.
iPad VPN privacy controls: kill switch, split tunneling and double-hop
A good iPad VPN should not only connect. It should also give you control over what happens when the connection changes, which sites use the VPN, and whether you want an extra routing layer for web traffic.
Kill switch on iPad
Crispy VPN includes a kill switch on iPhone and iPad, and it is opt-in. It is off by default, so you decide whether to enable it. When turned on, a kill switch is designed to reduce the chance that traffic continues outside the VPN if the connection drops.
This is useful on hotel or airport Wi-Fi, where networks can be unstable. It can also be helpful if you leave your iPad connected while moving between access points. For a broader explanation, see our guide to what a VPN kill switch does.
Split tunneling by website
On iPhone and iPad, Crispy VPN supports split tunneling by website, with up to 20 websites. This is different from per-app split tunneling. Instead of choosing apps, you choose websites that should be handled differently.
Website split tunneling is useful when one site works better outside the VPN, or when you want only certain browsing destinations to use a specific route. It keeps the setup simple on iPad because you do not have to redesign how every app connects. For more background, read our guide to split tunneling.
Double-hop for web traffic
Double-hop routes web traffic through two VPN servers rather than one. On iPad, it is available for web traffic and is off by default. That default is sensible because double-hop can add latency, so you should enable it only when the extra routing step is worth the tradeoff.
For ordinary streaming, video calls and everyday browsing, a single nearby server is usually the smoother choice. For more sensitive browsing sessions, double-hop can add separation between the entry point and exit point of your VPN route.
One account across your iPad, iPhone and other devices
An iPad is rarely the only device someone uses. You may browse on an iPad at night, answer messages on an iPhone, work on a Mac or Windows laptop, and watch on a TV app. One subscription covering multiple devices is simpler than treating each screen as a separate setup.
Crispy VPN lets one account work across supported apps and browser extensions, and one subscription covers up to 10 devices. That includes iPhone/iPad, Mac, Windows, Linux, Android, Apple TV, Android TV and Google TV, plus browser extensions for Chrome, Edge and Firefox.
This matters when you travel. You can protect the iPad you use on hotel Wi-Fi, the laptop you use for work, and the phone you carry around town without juggling separate accounts. If you are comparing tablet and phone setup, our VPN for iPhone guide is the closest match because the iPad uses the same iPhone/iPad app.
There is also a practical family angle. A tablet may be shared for browsing or video, while phones and computers are personal. A device limit of 10 gives room for a normal mix of personal hardware without making the iPad an afterthought.
Limits to understand before relying on a VPN for iPad
A VPN is a privacy tool, not a magic shield. It does not stop malware or phishing on its own. It does not make weak passwords safe. It does not prevent a site from tracking you when you are logged into your account on that site.
It also does not make you anonymous. Your VPN service can authenticate your account, websites can use cookies and account logins, and apps can collect data according to their own policies. A VPN mainly protects the network path and changes the IP address visible to sites and apps.
Crispy VPN keeps no activity logs, and its two-party relay design separates who you are from what you do. That is useful for privacy, but you should still use the rest of the privacy basics: update iPadOS, use strong passcodes, enable two-factor authentication where possible, and be careful with links and downloads.
Performance can vary too. Distance to the VPN server, Wi-Fi quality, network congestion and the site you are using all matter. If your connection feels slow, try a nearer server, switch Wi-Fi networks if possible, or temporarily disable extra features such as double-hop when you do not need them.
The right way to use a VPN for iPad is selective but consistent. Turn it on before joining unfamiliar Wi-Fi, enable the kill switch if connection leaks worry you, use website split tunneling for exceptions, and keep double-hop for the browsing sessions where the extra route is useful.